
Notice
Recent Posts
Recent Comments
Link
| 일 | 월 | 화 | 수 | 목 | 금 | 토 |
|---|---|---|---|---|---|---|
| 1 | 2 | 3 | 4 | 5 | 6 | 7 |
| 8 | 9 | 10 | 11 | 12 | 13 | 14 |
| 15 | 16 | 17 | 18 | 19 | 20 | 21 |
| 22 | 23 | 24 | 25 | 26 | 27 | 28 |
Tags
- NestedFor
- 인터페이스
- 예외미루기
- Java
- 추상메서드
- abstract
- 정수형타입
- oracle
- 메소드오버로딩
- 자동차수리시스템
- 사용자예외클래스생성
- cursor문
- 객체 비교
- exception
- 한국건설관리시스템
- 집합_SET
- EnhancedFor
- 환경설정
- 어윈 사용법
- 컬렉션프레임워크
- 오라클
- 대덕인재개발원
- GRANT VIEW
- 제네릭
- 생성자오버로드
- 참조형변수
- 다형성
- 예외처리
- 컬렉션 타입
- 자바
Archives
- Today
- Total
거니의 velog
(10) 프론트엔드 프로젝트 : 글쓰기 기능 구현하기 1 본문
* 애플리케이션의 회원 인증 시스템이 모두 구현되었다. 이번에는 글쓰기 페이지 기능을 구현할 차례이다. 글쓰기에 관련된 컴포넌트들은 write라는 이름으로 분류할 것이다.
* 이번 실습은 다음 흐름으로 진행된다.
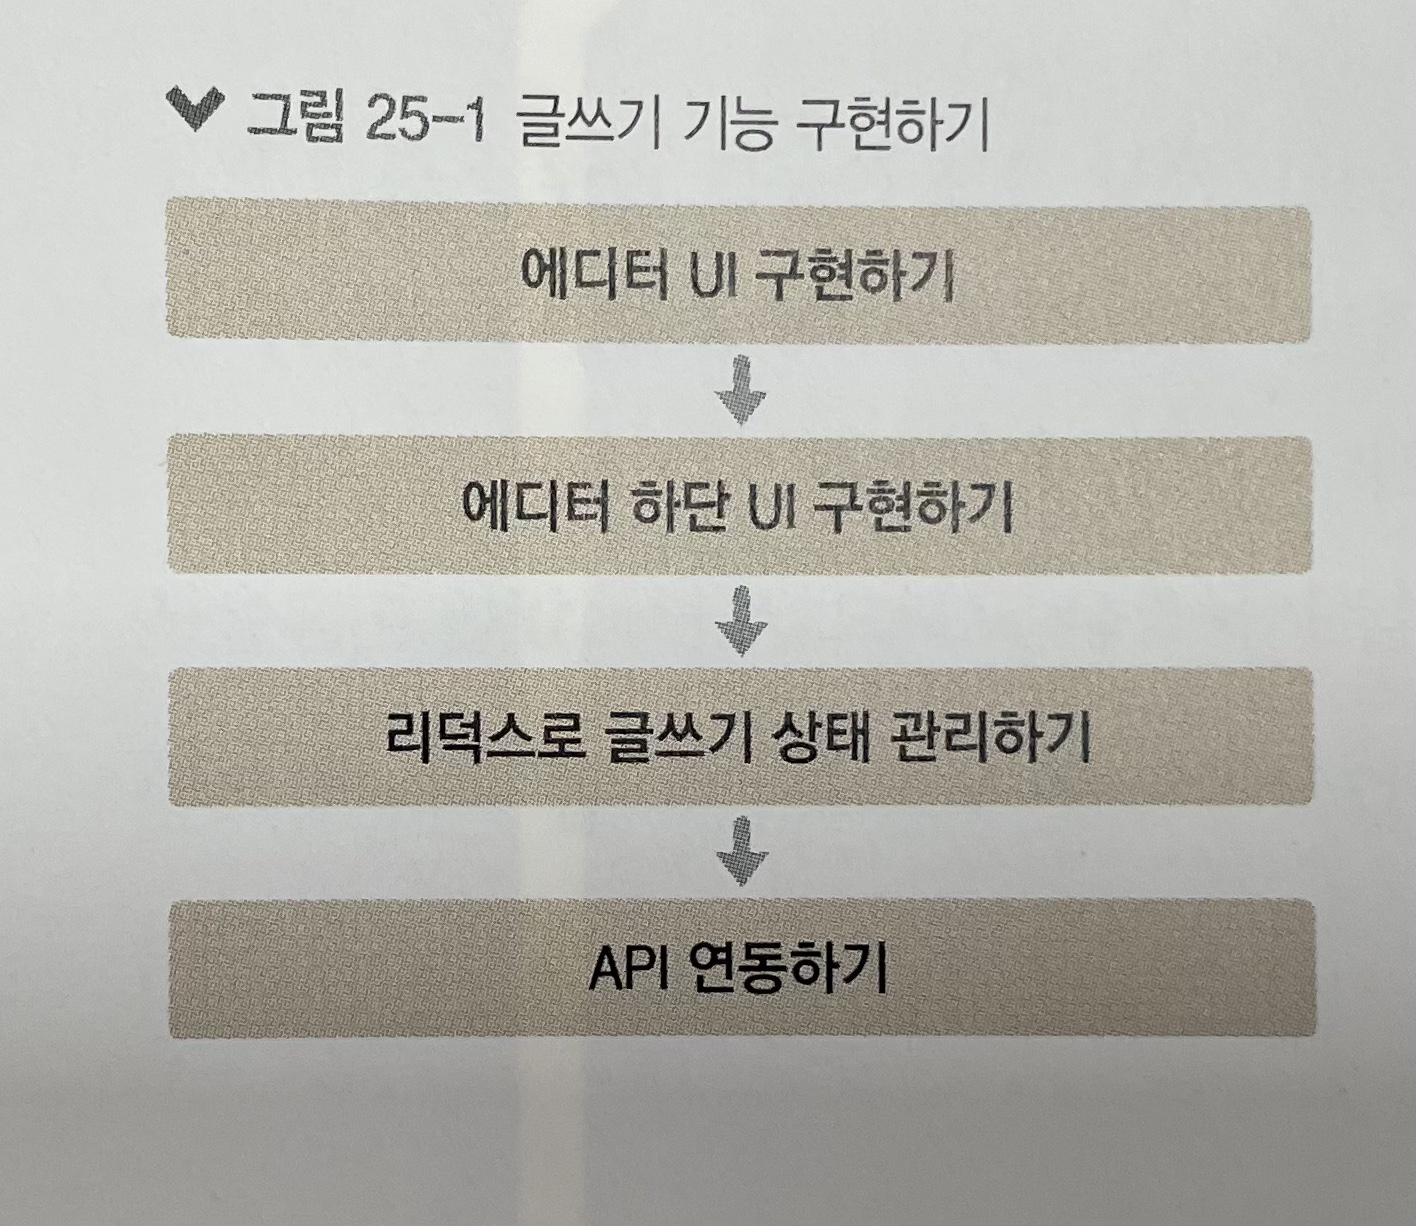
1. 에디터 UI 구현하기
* 글을 작성하는 에디터는 Quill 이라는 라이브러리를 사용하여 구현할 것이다. yarn을 사용하여 해당 라이브러리를 설치해 주자.
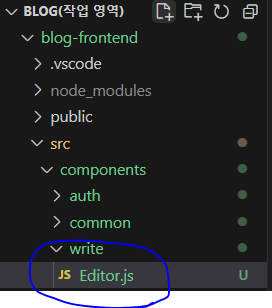
$ yarn add quill* 다음으로 components/write 디렉터리에 Editor 컴포넌트를 만들자. 이 컴포넌트에서는 제목과 내용을 입력할 수 있다. 제목은 input을 사용하고, 내용은 Quill 에디터를 사용해 볼 것이다.
import React, { useRef, useEffect } from 'react';
import Quill from 'quill';
import 'quill/dist/quill.bubble.css';
import styled from 'styled-components';
import palette from '../../lib/styles/palette';
import Responsive from '../common/Responsive';

const EditorBlock = styled(Responsive)`
  /* 페이지 위 아래 여백 지정 */
  padding-top: 5rem;
  padding-bottom: 5rem;
`;

const TitleInput = styled.input`
  font-size: 3rem;
  outline: none;
  padding-bottom: 0.5rem;
  border: none;
  border-bottom: 1px solid ${palette.gray[4]};
  margin-bottom: 2rem;
  width: 100%;
`;

const QuillWrapper = styled.div`
  /* 최소 크기 지정 및 padding 제거 */
  .ql-editor {
    padding: 0;
    min-height: 320px;
    font-size: 1.125rem;
    line-height: 1.5;
  }
  .ql-editor.ql-blank::before {
    left: 0px;
  }
`;

const Editor = () => {
  const quillElement = useRef(null); // Quill을 적용할 DivElement를 설정
  const quillInstance = useRef(null); // Quill 인스턴스를 설정

  useEffect(() => {
    quillInstance.current = new Quill(quillElement.current, {
      theme: 'bubble',
      placeholder: '내용을 작성하세요...',
      modules: {
        // 더 많은 옵션
        // https://quilljs.com/docs/modules/toolbar/ 참고
        toolbar: [
          [{ header: '1' }, { header: '2' }],
          ['bold', 'italic', 'underline', 'strike'],
          [{ list: 'ordered' }, { list: 'bullet' }],
          ['blockquote', 'code-block', 'link', 'image'],
        ],
      },
    });
  }, []);

  return (
    <EditorBlock>
      <TitleInput placeholder="제목을 입력하세요" />
      <QuillWrapper>
        <div ref={quillElement} />
      </QuillWrapper>
    </EditorBlock>
  );
};

export default Editor;
* 외부 라이브러리를 연동할 때는 이처럼 useRef와 useEffect를 적절하게 사용하면 된다. 만약 클래스형 컴포넌트를 작성한다면 createRef와 componentDidMount를 사용하면 된다.
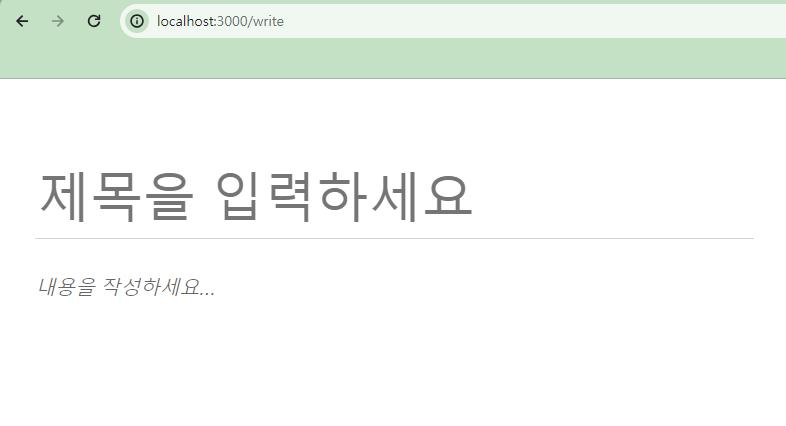
* Editor 컴포넌트를 WritePage에 렌더링하고 http://localhost:3000/write 주소를 입력하여 들어가 보자.
[pages/WritePage.js]
import React from 'react';
import Editor from '../components/write/Editor';
import Responsive from '../components/common/Responsive';

const WritePage = () => {
  return (
    <Responsive>
      <Editor />
    </Responsive>
  );
};

export default WritePage;
* 브라우저 화면에 다음과 같은 화면이 잘 나타나는가?
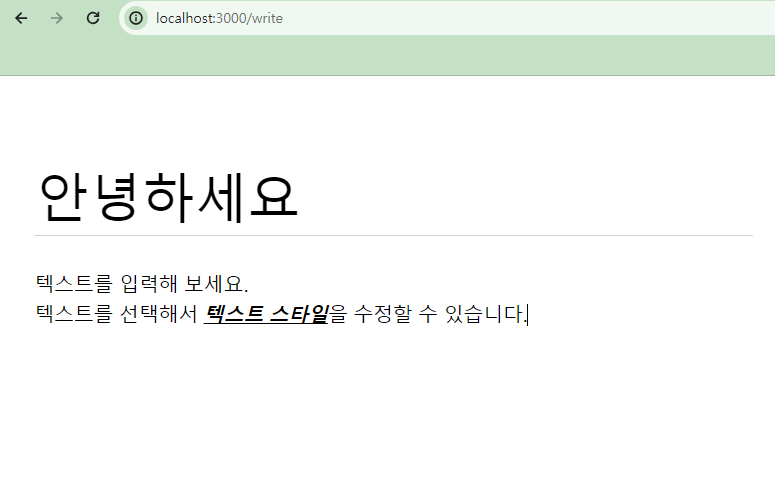
* 에디터를 한 번 사용해 보자. 텍스트를 입력한 뒤, 입력한 텍스트를 드래그하여 선택하면 스타일을 수정할 수도 있다.
* Editor 컴포넌트에서 사용되는 값을 추후 리덕스에서도 관리할 수 있도록 props를 설정해 주어야 하는데, 이 작업은 뒤에서 할 것이다.
'React > React_프론트엔드 프로젝트' 카테고리의 다른 글
| (12) 프론트엔드 프로젝트 : 글쓰기 기능 구현하기 3 (0) | 2024.02.23 |
|---|---|
| (11) 프론트엔드 프로젝트 : 글쓰기 기능 구현하기 2 (0) | 2024.02.23 |
| (9) 프론트엔드 프로젝트 : 시작 및 회원 인증 구현 9 (0) | 2024.02.23 |
| (8) 프론트엔드 프로젝트 : 시작 및 회원 인증 구현 8 (0) | 2024.02.23 |
| (7) 프론트엔드 프로젝트 : 시작 및 회원 인증 구현 7 (0) | 2024.02.23 |
'React/React_프론트엔드 프로젝트' Related Articles
more


