
| 일 | 월 | 화 | 수 | 목 | 금 | 토 |
|---|---|---|---|---|---|---|
| 1 | 2 | 3 | 4 | |||
| 5 | 6 | 7 | 8 | 9 | 10 | 11 |
| 12 | 13 | 14 | 15 | 16 | 17 | 18 |
| 19 | 20 | 21 | 22 | 23 | 24 | 25 |
| 26 | 27 | 28 | 29 | 30 |
- cursor문
- 어윈 사용법
- 예외처리
- 메소드오버로딩
- 정수형타입
- exception
- 자바
- EnhancedFor
- 객체 비교
- 생성자오버로드
- 집합_SET
- abstract
- 컬렉션프레임워크
- 자동차수리시스템
- 사용자예외클래스생성
- GRANT VIEW
- 대덕인재개발원
- 한국건설관리시스템
- 인터페이스
- 환경설정
- 다형성
- NestedFor
- 오라클
- 제네릭
- oracle
- 예외미루기
- 컬렉션 타입
- 추상메서드
- 참조형변수
- Java
- Today
- Total
거니의 velog
(14) 리액트와 API 서버 통신 4 본문
6. 등록 컴포넌트와 모달창 처리
* 지금껏 작성한 조회나 목록 기능과 달리 남은 기능들은 다음과 같은 공통점이 있다.
- GET 방식이 아니라 POST/PUT/DELETE와 같이 다른 방식으로 호출

- API 서버 호출의 결과가 주로 성공/실패와 같은 단순한 결과

- 처리 후 다른 경로로 이동하는 경우가 많음(리다이렉트)
* 과거의 서버사이드 프로그래밍은 서버에서 처리한 후에 결과 메시지를 모두 만들어서 전송하거나 PRG(Post-Redirect-Get) 방식으로 다른 경로를 호출하는 방식이었다. 리액트와 같은 애플리케이션에서는 기본적으로 모든 처리는 현재 화면을 중심으로 처리된다. 현재 화면에서 서버를 호출하고 결과 역시 현재 화면에서 처리하고 이후에 이동하는 방식이다.

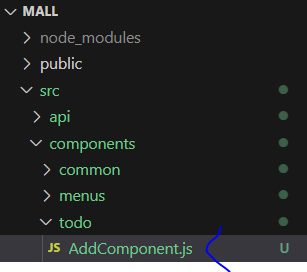
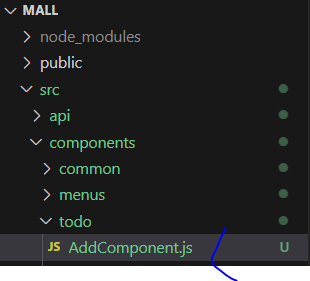
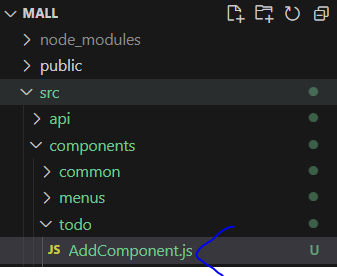
* 등록 처리는 입력하는 화면이 있고, 버튼을 클릭하면 서버를 호출하고 호출 결과를 모달창에서 현재 화면을 보여주도록 구성한다. 등록 처리용 페이지는 pages/todo/AddPage.js를 이용하고 해당 페이지에서 사용할 컴포넌트를 components/todo/AddComponent.js 파일로 추가한다.
import React from "react";

const AddComponent = () => {
  return <>Add Component</>;
};

export default AddComponent;
* pages/todo/AddPage에는 AddComponent를 import 한다.
import React from "react";
import AddComponent from "../../components/todo/AddComponent";
const AddPage = () => {
return (
<div className="p-4 w-full bg-white">
<div className="text-3xl font-extrabold">Todo Add Page</div>
<AddComponent />
</div>
);
};
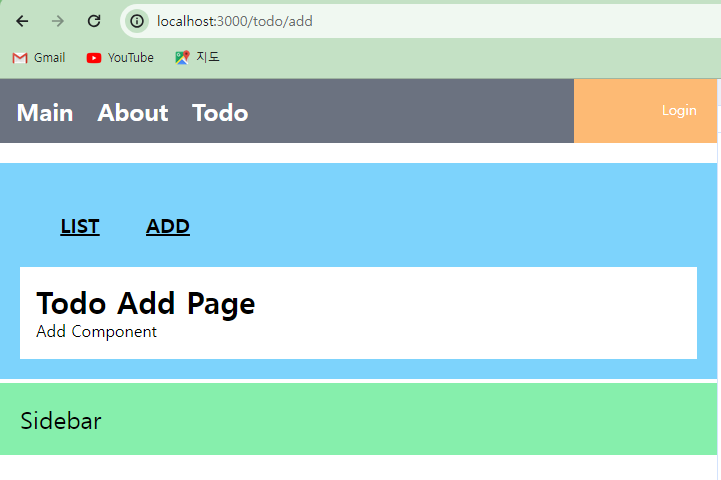
export default AddPage;* 아직 화면 구성은 완료되지 않았기 때문에 브라우저에서 '/todo/add'는 다음과 같은 모습으로 보이게 된다.
* AddComponent의 내용물은 아래와 같이 작성한다. 우선은 input 태그들과 상태 처리에만 중점을 두고 'ADD' 버튼을 클릭했을 때의 이벤트 처리 정도만을 구성한다.
import React, { useState } from "react";

const initState = {
  title: "",
  writer: "",
  dueDate: "",
};

const AddComponent = () => {
  const [todo, setTodo] = useState({ ...initState });
  const handleChangeTodo = (e) => {
    todo[e.target.name] = e.target.value;
    setTodo({ ...todo });
  };
  const handleClickAdd = () => {
    console.log(todo);
  };

  return (
    <div className="border-2 border-sky-200 mt-10 m-2 p-4">
      <div className="flex justify-center">
        <div className="relative mb-4 flex w-full flex-wrap items-stretch">
          <div className="w-1/5 p-6 text-right font-bold">TITLE</div>
          <input
            className="w-4/5 p-6 rounded-r border border-solid border-neutral-500 shadow-md"
            name="title"
            type={"text"}
            value={todo.title}
            onChange={handleChangeTodo}
          ></input>
        </div>
      </div>

      <div className="flex justify-center">
        <div className="relative mb-4 flex w-full flex-wrap items-stretch">
          <div className="w-1/5 p-6 text-right font-bold">WRITER</div>
          <input
            className="w-4/5 p-6 rounded-r border border-solid border-neutral-500 shadow-md"
            name="writer"
            type={"text"}
            value={todo.writer}
            onChange={handleChangeTodo}
          ></input>
        </div>
      </div>

      <div className="flex justify-center">
        <div className="relative mb-4 flex w-full flex-wrap items-stretch">
          <div className="w-1/5 p-6 text-right font-bold">DUEDATE</div>
          <input
            className="w-4/5 p-6 rounded-r border border-solid border-neutral-500 shadow-md"
            name="dueDate"
            type={"date"}
            value={todo.dueDate}
            onChange={handleChangeTodo}
          ></input>
        </div>
      </div>

      <div className="flex justify-end">
        <div className="relative mb-4 flex p-4 flex-wrap items-stretch">
          <button
            type="button"
            className="rounded p-4 w-36 bg-blue-500 text-xl  text-white "
            onClick={handleClickAdd}
          >
            ADD
          </button>
        </div>
      </div>
    </div>
  );
};

export default AddComponent;
* 브라우저에서는 '/todo/add' 혹은 Todo 목록 화면에서 'ADD' 버튼을 이용해서 AddComponent의 화면을 볼 수 있다.


(1) 서버 호출 결과 확인
* 정상적으로 데이터가 수집되는 것을 확인하였다면 서버에 JSON 형식의 데이터를 전송해야 한다. Axios는 기본 설정이 JSON이므로 이러한 처리를 간단히 할 수 있다.
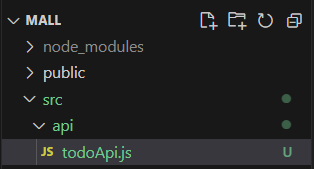
* api/todoApi.js 파일에 POST 방식으로 동작하는 함수를 추가한다.
import axios from "axios";

export const API_SERVER_HOST = "http://localhost:8080";

const prefix = `${API_SERVER_HOST}/api/todo`;

export const getOne = async (tno) => {
  const res = await axios.get(`${prefix}/${tno}`);
  return res.data;
};

export const getList = async (pageParam) => {
  const { page, size } = pageParam;
  const res = await axios.get(`${prefix}/list`, {
    params: { page: page, size: size },
  });
  return res.data;
};

export const postAdd = async (todoObj) => {
  const res = await axios.post(`${prefix}/`, todoObj);
  return res.data;
};
* AddComponent 내부의 handleClickAdd()는 추가된 postAdd()를 호출하고 결과를 확인한다.

import React, { useState } from "react";
import { postAdd } from "../../api/todoApi";
const initState = {
title: "",
writer: "",
dueDate: "",
};
const AddComponent = () => {
(...)
const handleClickAdd = () => {
//console.log(todo);
postAdd(todo)
.then((result) => {
console.log(result);
// 초기화
setTodo({ ...initState });
})
.catch((e) => {
console.error(e);
});
};
return (
(...)
);
};
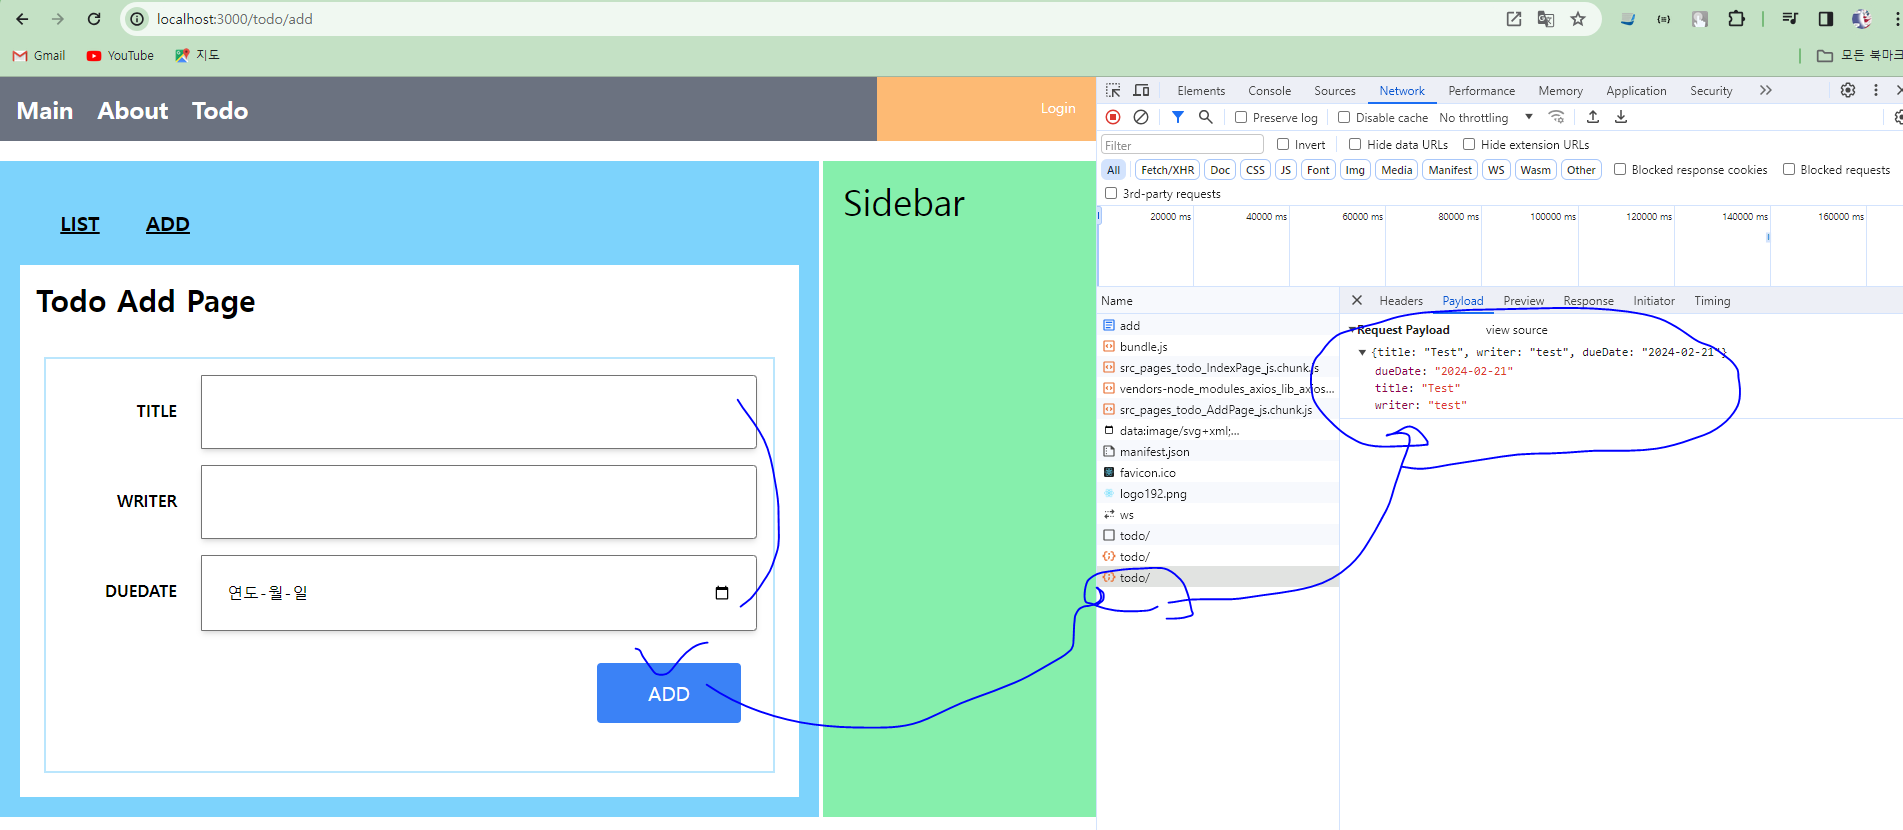
export default AddComponent;* 개발자 도구에서 'Network' 탭을 통해서 'ADD' 버튼을 클릭했을 때 서버를 호출하는 것을 확인한다.

* API 서버를 호출하다 보면 위와 같이 'preflight' 타입의 전송이 이루어지는 경우가 많다.
  이것은 JSON 데이터를 GET 방식 이외의 방식으로 호출할 때 서버가 이를 처리할 수 있는지
  확인하기 위해서 서버를 호출하는 것이다.
* POST 방식으로 전송되므로 payload에서 전송하는 데이터를 확인할 수 있다.
* 'Console' 탭을 이용하면 정상적으로 처리된 후에는 새로운 번호(tno)가 전달되는 것을 확인할 수 있다.


(2) 모달 컴포넌트의 제작
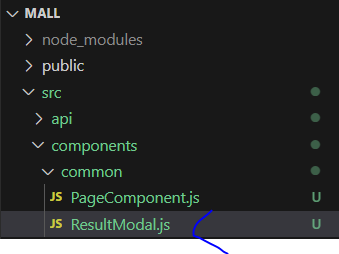
* 등록 작업이 성공했기 때문에 해당 결과를 alert()을 사용해서 보여줄 수도 있지만, 별도의 모달 컴포넌트를 제작하면 나중에 수정/삭제 작업 시에도 재사용이 가능하다. 컴포넌트를 여러 곳에서 재사용하기 위해서 components/common 폴더 내에 ResultModal.js 이름의 파일로 추가한다.
* ResultModal 컴포넌트는 보이는지 여부(open), 모달창의 제목과 내용(title, content), 모달창이 닫힌 후에 실행되어야 하는 동작(callbackFn)을 속성(props)을 사용해서 설계한다.
import React from "react";

const ResultModal = ({ title, content, callbackFn }) => {
  return (
    <div
      className={`fixed top-0 left-0 z-[1055] flex h-full w-full  justify-center bg-black bg-opacity-20`}
      onClick={() => {
        if (callbackFn) {
          callbackFn();
        }
      }}
    >
      <div className="absolute bg-white shadow dark:bg-gray-700 opacity-100 w-1/4 rounded  mt-10 mb-10 px-6 min-w-[600px]">
        <div className="justify-center bg-warning-400 mt-6 mb-6 text-2xl border-b-4 border-gray-500">
          {title}
        </div>
        <div className="text-4xl  border-orange-400 border-b-4 pt-4 pb-4">
          {content}
        </div>
        <div className="justify-end flex ">
          <button
            className="rounded bg-blue-500 mt-4 mb-4 px-6 pt-4 pb-4 text-lg text-white"
            onClick={() => {
              if (callbackFn) {
                callbackFn();
              }
            }}
          >
            Close Modal
          </button>
        </div>
      </div>
    </div>
  );
};

export default ResultModal;
* AddComponent에는 ResultModal을 import 해주고 ResultModal을 사용하게 되는 상태 처리를 추가한다.

import React, { useState } from "react";
import { postAdd } from "../../api/todoApi";
import ResultModal from "../common/ResultModal";

const initState = {
  title: "",
  writer: "",
  dueDate: "",
};

const AddComponent = () => {
  const [todo, setTodo] = useState({ ...initState });
  // 결과 데이터가 있는 경우에는 ResultModal을 보여 준다.
  const [result, setResult] = useState(null); // 결과 상태

  const handleChangeTodo = (e) => {
    todo[e.target.name] = e.target.value;
    setTodo({ ...todo });
  };
  const handleClickAdd = () => {
    //console.log(todo);
    postAdd(todo)
      .then((result) => {
        console.log(result);
        // 결과 데이터 변경
        setResult(result.TNO);
        // 초기화
        setTodo({ ...initState });
      })
      .catch((e) => {
        console.error(e);
      });
  };

  const closeModal = () => {
    setResult(null);
  };

  return (
    <div className="border-2 border-sky-200 mt-10 m-2 p-4">

      {/* 모달 처리 */}
      {result ? (
        <ResultModal
          title={"Add Result"}
          content={`New ${result} Added`}
          callbackFn={closeModal}
        />
      ) : (
        <></>
      )}

      (...)

    </div>
  );
};

export default AddComponent;
* ResultModal은 평상시에는 보이지 않다가 서버와의 통신이 끝나고 나면 result 상태를 변경해서 보이게 된다. ResultModal 창은 화면에 있는 'Close Modal'이라는 버튼을 클릭해서 닫거나, 회색으로 보이는 전체 영역(레이어)을 클릭해도 사라지게 된다.

(3) 페이지 이동
* 새로운 Todo가 추가된 후에 모달창을 닫으면 현재로는 등록 컴포넌트의 내용물이 지워지는 것 외에는 화면의 변화가 없으므로 후처리 기능을 완성하도록 한다. ResultModal에 전달되는 속성 중 callbackFn은 종료될 때 호출되는 함수이다. 등록은 모달창이 닫히면서 목록 페이지로 이동하게 구성한다.
* 목록 화면으로 이동하는 기능은 이미 useCustomMove()를 이용해서 구현해 두었기 때문에 몇 줄의 코드만 추가해 주면 된다.
import React, { useState } from "react";
import { postAdd } from "../../api/todoApi";
import ResultModal from "../common/ResultModal";
import useCustomMove from "../../hooks/useCustomMove";

const initState = {
  title: "",
  writer: "",
  dueDate: "",
};

const AddComponent = () => {
  const [todo, setTodo] = useState({ ...initState });
  // 결과 데이터가 있는 경우에는 ResultModal을 보여 준다.
  const [result, setResult] = useState(null); // 결과 상태
  const { moveToList } = useCustomMove(); // useCustomMove 활용

  const handleChangeTodo = (e) => {
    todo[e.target.name] = e.target.value;
    setTodo({ ...todo });
  };
  const handleClickAdd = () => {
    //console.log(todo);
    postAdd(todo)
      .then((result) => {
        console.log(result);
        // 결과 데이터 변경
        setResult(result.TNO);
        // 초기화
        setTodo({ ...initState });
      })
      .catch((e) => {
        console.error(e);
      });
  };

  const closeModal = () => {
    setResult(null);
    moveToList(); // moveToList 호출
  };

  return (
    <div className="border-2 border-sky-200 mt-10 m-2 p-4">

      {/* 모달 처리 */}
      {result ? (
        <ResultModal
          title={"Add Result"}
          content={`New ${result} Added`}
          callbackFn={closeModal}
        />
      ) : (
        <></>
      )}

      (...)

    </div>
  );
};

export default AddComponent;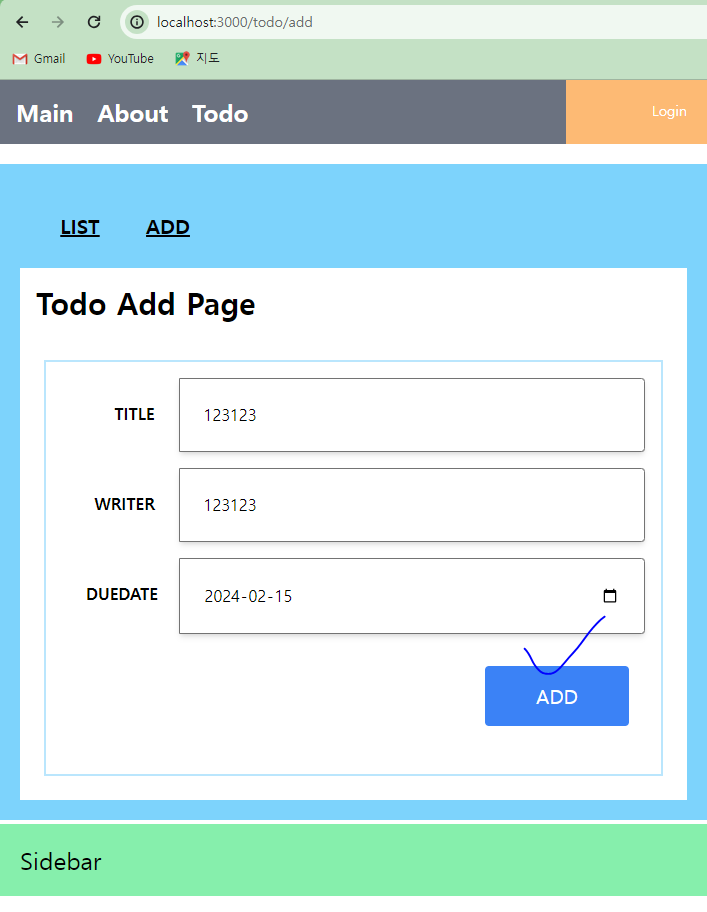


'SpringBoot_React 풀스택 프로젝트' 카테고리의 다른 글
| (16) 상품 API 서버 구성하기 1 (0) | 2024.02.29 |
|---|---|
| (15) 리액트와 API 서버 통신 5 (0) | 2024.02.29 |
| (13) 리액트와 API 서버 통신 3 (0) | 2024.02.28 |
| (12) 리액트와 API 서버 통신 2 (0) | 2024.02.28 |
| (11) 리액트와 API 서버 통신 1 (0) | 2024.02.28 |


