
| 일 | 월 | 화 | 수 | 목 | 금 | 토 |
|---|---|---|---|---|---|---|
| 1 | 2 | 3 | 4 | 5 | 6 | 7 |
| 8 | 9 | 10 | 11 | 12 | 13 | 14 |
| 15 | 16 | 17 | 18 | 19 | 20 | 21 |
| 22 | 23 | 24 | 25 | 26 | 27 | 28 |
- EnhancedFor
- GRANT VIEW
- 인터페이스
- 오라클
- 정수형타입
- 예외미루기
- 사용자예외클래스생성
- 환경설정
- 메소드오버로딩
- cursor문
- 컬렉션 타입
- 한국건설관리시스템
- abstract
- 어윈 사용법
- Java
- oracle
- 생성자오버로드
- 집합_SET
- exception
- 제네릭
- 자바
- 추상메서드
- 대덕인재개발원
- 다형성
- NestedFor
- 컬렉션프레임워크
- 객체 비교
- 자동차수리시스템
- 예외처리
- 참조형변수
- Today
- Total
거니의 velog
(10) Modern JavaScript 입문 10 본문
10. 프로토타입과 클래스
(1) 객체 생성자
* 프로토타입과 클래스에 대해서 알아보기 전에 우선 객체 생성자라는 것을 알아보자. 객체 생성자는 함수를 통해서 새로운 객체를 만들고 그 안에 넣고 싶은 값 혹은 함수들을 구현 할 수 있게 해준다.
function Animal(type, name, sound) {
  this.type = type;
  this.name = name;
  this.sound = sound;
  this.say = function() {
    console.log(this.sound);
  };
}

const dog = new Animal('개', '멍멍이', '멍멍');
const cat = new Animal('고양이', '야옹이', '야옹');

dog.say();
cat.say();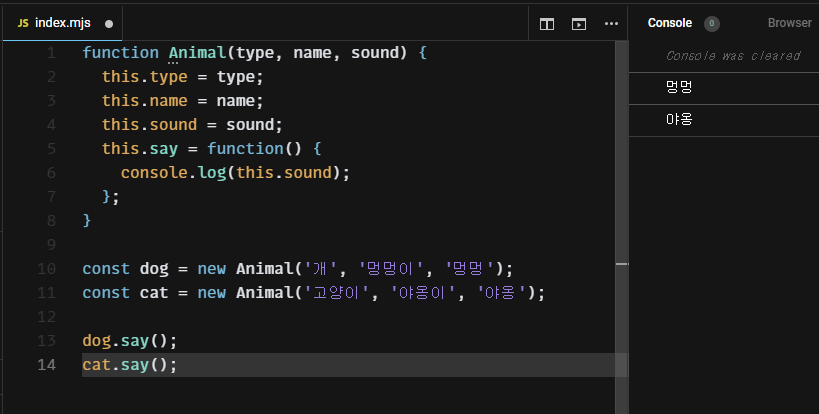
* 객체 생성자를 사용 할 때는 보통 함수의 이름을 대문자로 시작하고, 새로운 객체를 만들 때에는 new 키워드를 앞에 붙여주어야 한다.
* 지금 위 코드를 보면, dog 가 가지고 있는 say 함수와 cat 이 가지고 있는 say 함수가 수행하는 코드가 똑같음에도 불구하고 객체가 생성될 때마다 함수도 새로 만들어져서 this.say 로 설정이 되고 있다.
* 같은 객체 생성자 함수를 사용하는 경우, 특정 함수 또는 값을 재사용 할 수 있는데 바로 프로토타입이다.
(2) 프로토타입
* 프로토타입은 다음과 같이 객체 생성자 함수 아래에 .prototype.[원하는키] = 코드를 입력하여 설정 할 수 있다.
function Animal(type, name, sound) {
  this.type = type;
  this.name = name;
  this.sound = sound;
}

Animal.prototype.say = function() {
  console.log(this.sound);
};
Animal.prototype.sharedValue = 1;

const dog = new Animal('개', '멍멍이', '멍멍');
const cat = new Animal('고양이', '야옹이', '야옹');

dog.say();
cat.say();

console.log(dog.sharedValue);
console.log(cat.sharedValue);
(3) 객체 생성자 상속받기
* 예를 들어서 우리가 Cat 과 Dog 라는 새로운 객체 생성자를 만든다고 가정해보자. 그리고, 해당 객체 생성자들에서 Animal 의 기능을 재사용한다고 가정해보자. 그렇다면, 이렇게 구현 할 수 있다.
function Animal(type, name, sound) {
  this.type = type;
  this.name = name;
  this.sound = sound;
}

Animal.prototype.say = function() {
  console.log(this.sound);
};
Animal.prototype.sharedValue = 1;

function Dog(name, sound) {
  Animal.call(this, '개', name, sound);
}
Dog.prototype = Animal.prototype;

function Cat(name, sound) {
  Animal.call(this, '고양이', name, sound);
}
Cat.prototype = Animal.prototype;

const dog = new Dog('멍멍이', '멍멍');
const cat = new Cat('야옹이', '야옹');

dog.say();
cat.say();
* 새로 만든 Dog 와 Cat 함수에서 Animal.call 을 호출해 주고 있는데, 여기서 첫번째 인자에는 this 를 넣어주어야 하고, 그 이후에는 Animal 객체 생성자 함수에서 필요로 하는 파라미터를 넣어주어야 한다.
* 추가적으로 prototype 을 공유해야 하기 때문에 상속받은 객체 생성자 함수를 만들고 나서 prototype 값을 Animal.prototype 으로 설정해 주었다.
(4) 클래스
* 클래스라는 기능은 C++, Java, C#, PHP 등의 다른 프로그래밍 언어에는 있는데, 자바스크립트에는 없었기 때문에 예전 자바스크립트(ES5) 에서는 클래스 문법이 따로 없으므로 위에서 작성한 코드처럼 객체 생성자 함수를 사용하여 비슷한 작업을 구현해 왔다.
* ES6 에서부터는 class 라는 문법이 추가되었는데, 우리가 객체 생성자로 구현했던 코드를 조금 더 명확하고 깔끔하게 구현할 수 있게 해준다. 추가적으로 상속도 훨씬 쉽게 해줄 수 있다.
class Animal {
  constructor(type, name, sound) {
    this.type = type;
    this.name = name;
    this.sound = sound;
  }
  say() {
    console.log(this.sound);
  }
}

const dog = new Animal('개', '멍멍이', '멍멍');
const cat = new Animal('고양이', '야옹이', '야옹');

dog.say();
cat.say();
* 여기서 우리가 say 라는 함수를 클래스 내부에서 선언했는데, 클래스 내부의 함수를 '메서드'라고 부른다. 이렇게 메서드를 만들면 자동으로 prototype 으로 등록이 된다.
* class 를 사용했을 때에는, 다른 클래스를 쉽게 상속할 수 있다.
class Animal {
  constructor(type, name, sound) {
    this.type = type;
    this.name = name;
    this.sound = sound;
  }
  say() {
    console.log(this.sound);
  }
}

class Dog extends Animal {
  constructor(name, sound) {
    super('개', name, sound);
  }
}

class Cat extends Animal {
  constructor(name, sound) {
    super('고양이', name, sound);
  }
}

const dog = new Dog('멍멍이', '멍멍');
const cat = new Cat('야옹이', '야옹');

dog.say();
cat.say();
* 상속을 할 때는 extends 키워드를 사용하며, constructor 에서 사용하는 super() 함수가 상속받은 클래스의 생성자를 가르킨다.
class Animal {
  constructor(type, name, sound) {
    this.type = type;
    this.name = name;
    this.sound = sound;
  }
  say() {
    console.log(this.sound);
  }
}

class Dog extends Animal {
  constructor(name, sound) {
    super('개', name, sound);
  }
}

class Cat extends Animal {
  constructor(name, sound) {
    super('고양이', name, sound);
  }
}

const dog = new Dog('멍멍이', '멍멍');
const dog2 = new Dog('왈왈이', '왈왈');
const cat = new Cat('야옹이', '야옹');
const cat2 = new Cat('냐옹이', '냐옹');

dog.say();
dog2.say();
cat.say();
cat2.say();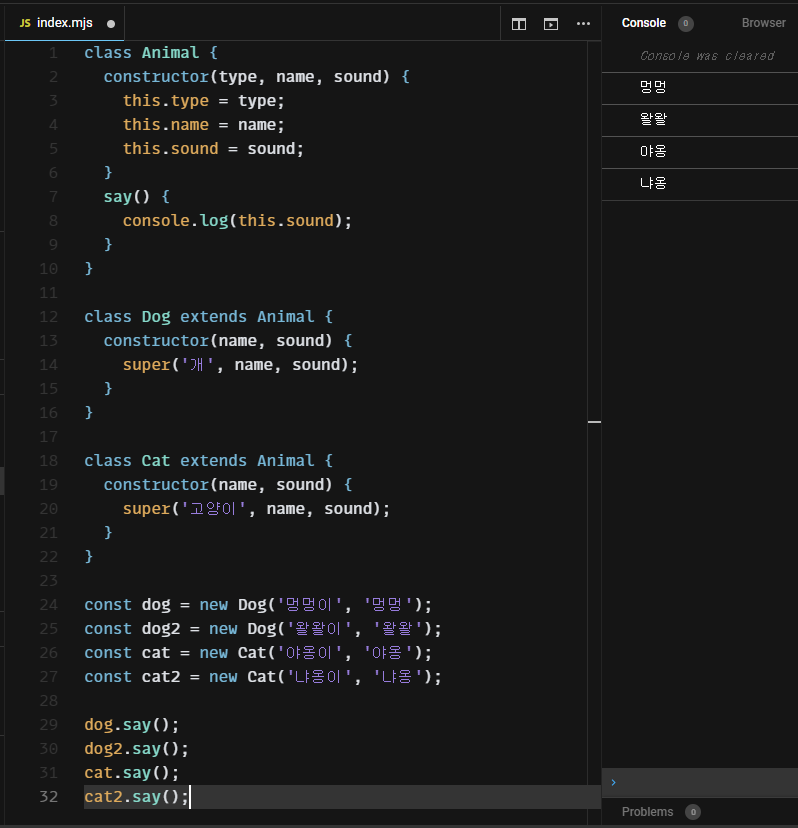
[연습]
* 연습 삼아 다음 클래스도 만들어 보자.
class Food {
  constructor(name) {
    this.name = name;
    this.brands = [];
  }
  addBrand(brand) {
    this.brands.push(brand)
  }
  print() {
    console.log(`${this.name}을/를 파는 음식점들:`)
    console.log(this.brands.join(', '));
  }
}

const pizza = new Food('피자');
pizza.addBrand('피자헛');
pizza.addBrand('도미노 피자');

const chicken = new Food('치킨');
chicken.addBrand('굽네치킨');
chicken.addBrand('BBQ');

pizza.print()
chicken.print();
* 이런식으로, 클래스를 만들어서 사용하면 같은 형태를 지닌 객체들을 만들때 객체들이 지닌 값과 함수를 보기 좋은 형태로 쉽게 관리 할 수 있다.
'JS_Modern JS(ES6 이후)' 카테고리의 다른 글
| (12) 알고 있으면 유용한 자바스크립트 문법 2 (0) | 2023.11.04 |
|---|---|
| (11) 알고 있으면 유용한 자바스크립트 문법 1 (1) | 2023.11.04 |
| (9) Modern JavaScript 입문 9 (0) | 2023.11.01 |
| (8) Modern JavaScript 입문 8 (0) | 2023.11.01 |
| (7) Modern JavaScript 입문 7 (1) | 2023.11.01 |


